During the first year of studies at Engim Restauro in Vicenza we studied in depth the technique of graffito mural decoration, or sgraffio, thanks to the teacher Patrizia Peruzzo.
After a theoretical introduction to the graffito technique we were able to create a tablet prepared with arriccio and plaster and then work it with a modular decoration typical of this ancient decorative technique.
The graffito or sgraffio technique
To create this work we based ourselves on the ancient graffito technique, which takes its name from the Roman “graphium“, the stylus used to scratch the surface of the plaster, removing it and allowing the underlying color to be seen, creating a drawing.
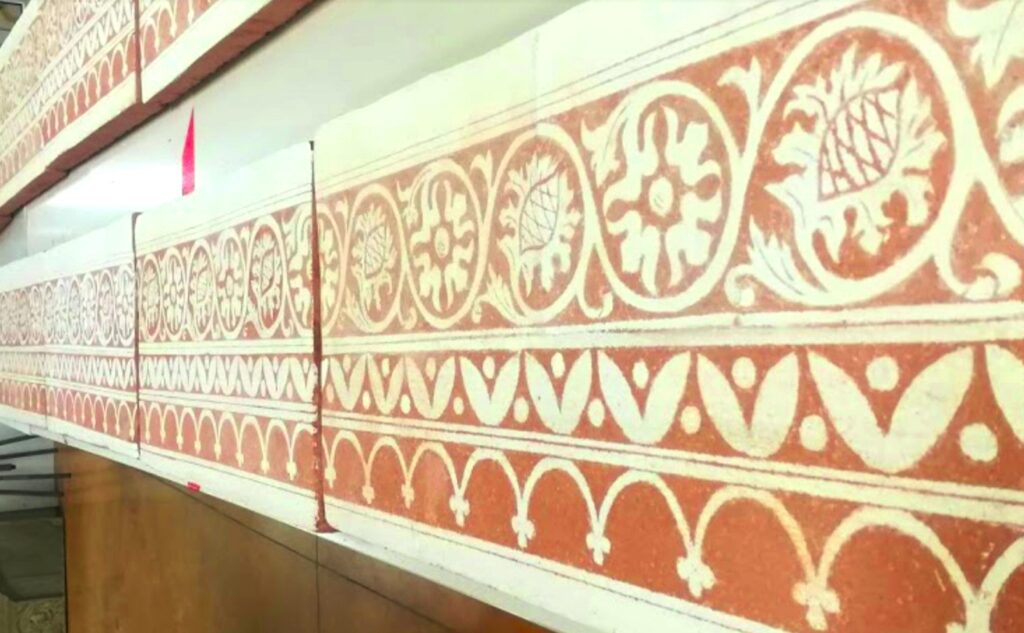
In our case we created a decorative band of a nineteenth-century Florentine palace, composed of small arches in the first order and acanthus scrolls and leaves in the second order.
Preparation of the drawing to be reported
First of all, after receiving the image to be created, we adapted the measurements of the drawing, until it was enlarged to cover the measurements of the support, a panel in Eraclit (a material composed of wood wool used in construction as a sound absorber, light and suitable for maintaining humidity), in order to create a continuous band by placing all the panels created by the class side by side.
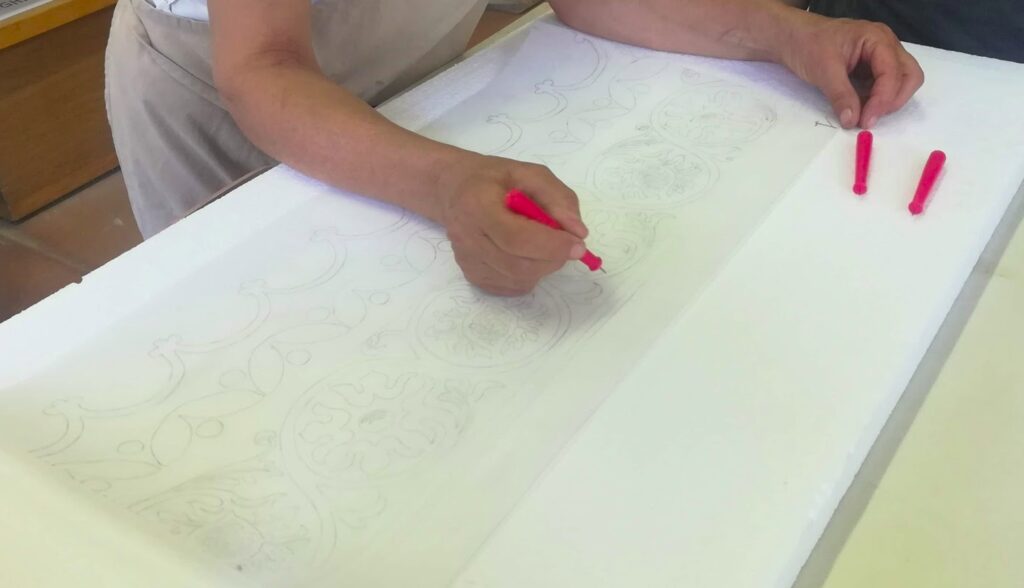
Once the measurements were established, we created the sheet for dusting, a sheet of paper to tracing paper, on which we have drawn the drawing in pencil, and then pierced it with an awl, following the drawing, with equidistant holes about 5mm apart.
To pierce the dusting cardboard, you must be careful not to make the holes too close together or too far apart: if they are too far apart, you may not be able to distinguish the subject well once you have dusted the support, especially for complex drawings; if the holes are too close together, you may tear the sheet between one hole and another, dirtying the support with too much dust. It is also important to create references in the dusting, such as for horizontal lines and always clean the tracing after dusting.
In the case of our drawing, I had to go over the band above with the awl, because I had made the holes too far apart, and I could not distinguish the subject well.
It is always a good idea to do a dusting test on another surface before doing the final dusting, to see if the drawing is reproduced optimally.
We also did several tests to make the dusting pads, which consist of a cloth with a suitable texture to let the pigment or colored powder fall, often containing cotton to ensure that the powder does not “clump”, and closed with a lace.
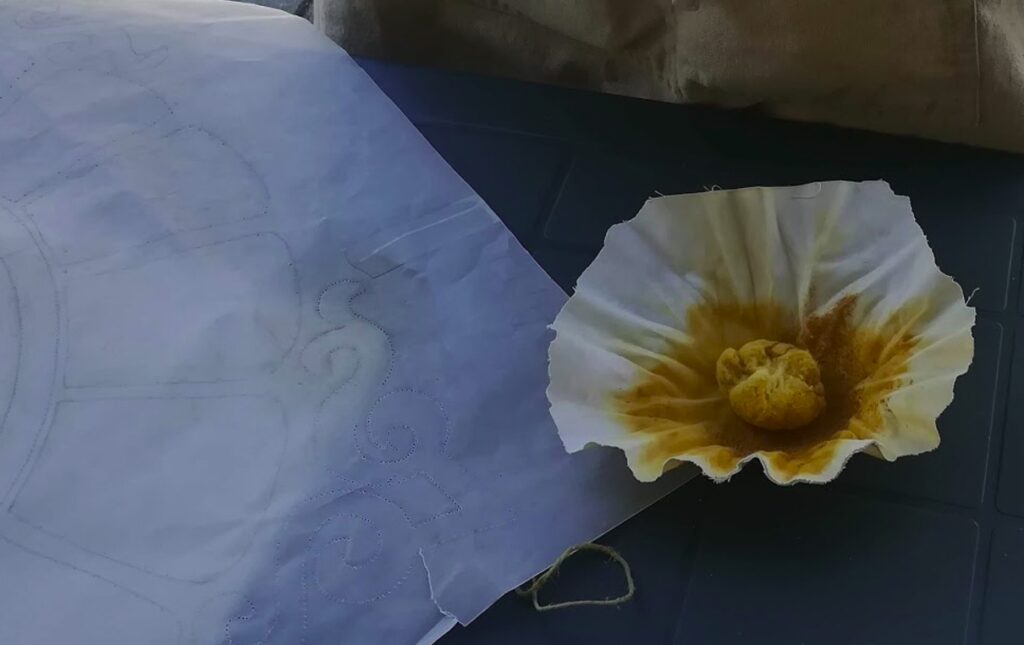
The color of the dusting pigment must also be decided based on the surface that will receive it: in our case, since the whitewash was expected to be a light color, we created pads with dark pigment. It is also important to ensure that the pigment is not too dark or too light, so as not to dirty the surface too much.
Preparing the mortars for the support
We simulated, on our Eraclit support, a vertical wall, thus creating a layer of roughcast and one of plaster, on which to proceed with the whitewash.
The roughcast is a base mortar, in our case made with slaked lime and aggregates in a ratio of 1:3, aggregates composed of cocciopesto and sand in a ratio of 1:1.
We wet the Eraclit well before spreading the plaster (the surface that receives a mortar must always bewet, as well as the tools, especially if they are made of wood like the trowel) otherwise the water contained in the mortar would be immediately absorbed by the eraclit, causing the plaster to dry too quickly.
We spread the arriccio in two layers, a first thin layer, pressing, to let the mixture penetrate the eraclit and therefore make it stick well, then a softer layer, then smoothed with the trowel to obtain flatness.
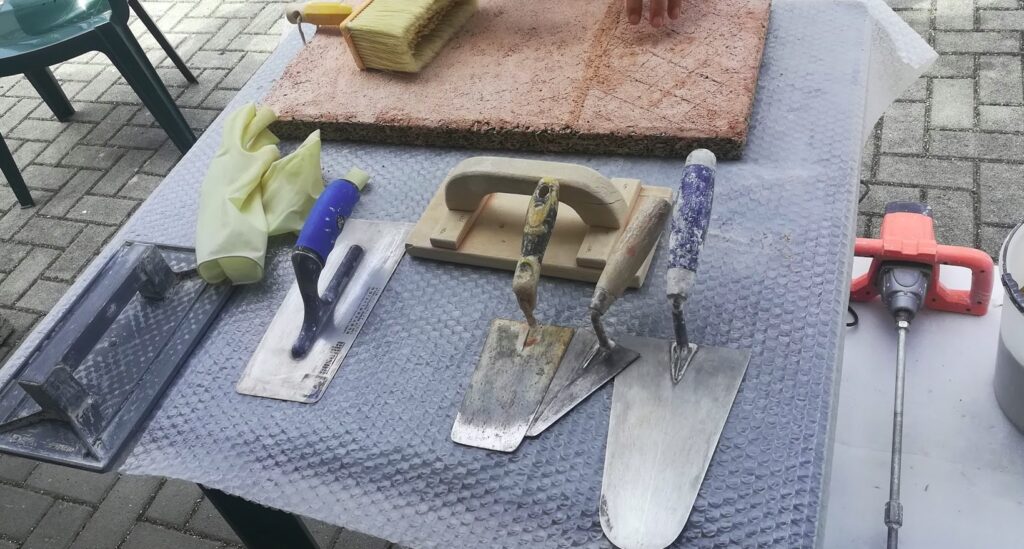
These are the tools used:
- the trowel, which is used to collect the mixture from the bucket, put it on the trowel and then collect it to “throw” it onto the support and spread it
- the trowel, which can be made of wood or metal, which is used to hold the mortar while you are plastering and then smooth it out
- the sponge trowel used to smooth out more accurately
- brush to wet the support
The work with the trowel should be done in areas, starting for example from the bottom left and then proceeding, with the entire thickness, towards the top right.
We have left the surface of the arriccio rough to be able to then accommodate the plaster.
It was the first time I prepared and spread a mortar, and it was interesting to learn that the lime must first be mixed well to remove lumps and put first in the bucket, to understand that the sand must be sifted, the cocciopesto washed before putting it in the mixture, to understand how much water to put in the mixture and what the right consistency is (when you lift the trowel with a little mixture, it must fall but not in a liquid way).
During the spreading it was interesting to understand the necessary manual skill, the arched movement to be made with the hand with the trowel, the inclination of the trowel which must not be held flat, otherwise it sucks up the mixture, but not too vertically otherwise it is difficult to obtain a flatness.
Once the arriccio was dry, we spread the plaster.
The plaster was prepared with slaked lime and aggregates in a ratio of 1:2, and the aggregates were yellow sand from Tuscany with a grain size of 0.06 mm in a ratio of 1:1.5 and Venetian red pigment that should not be added more than 5% of the weight, otherwise the plaster crumbles.
The pigment was prepared by putting it in water and letting it settle for 12 hours.
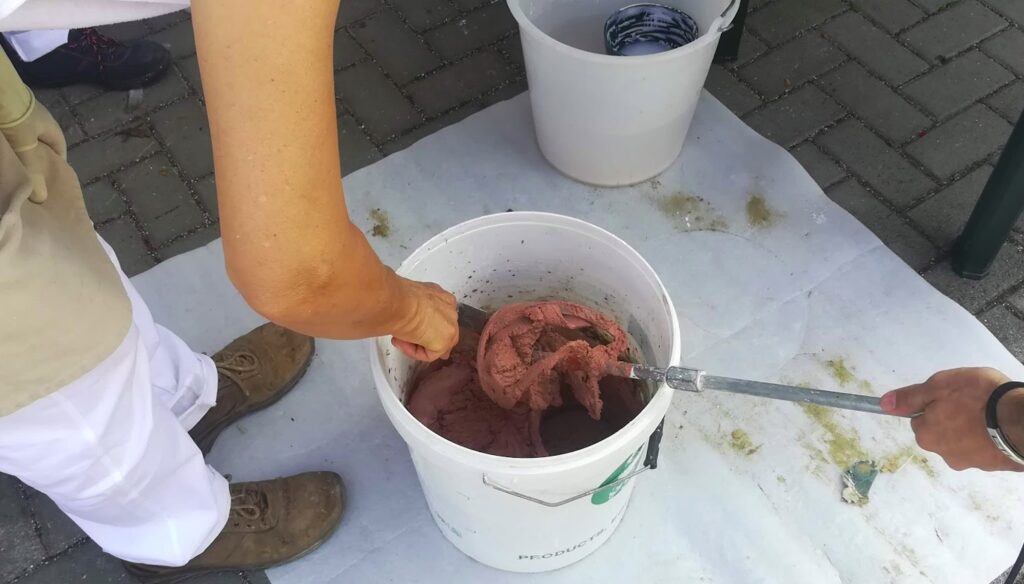
In this case too, we prepared the mixture in a bucket, first adding the slaked lime
and then gradually adding the aggregates, mixing with the mixer, gradually adding water, as needed.
The plaster had to be colored, because then the whitewash would be light and the design of the color of the plaster would be visible.
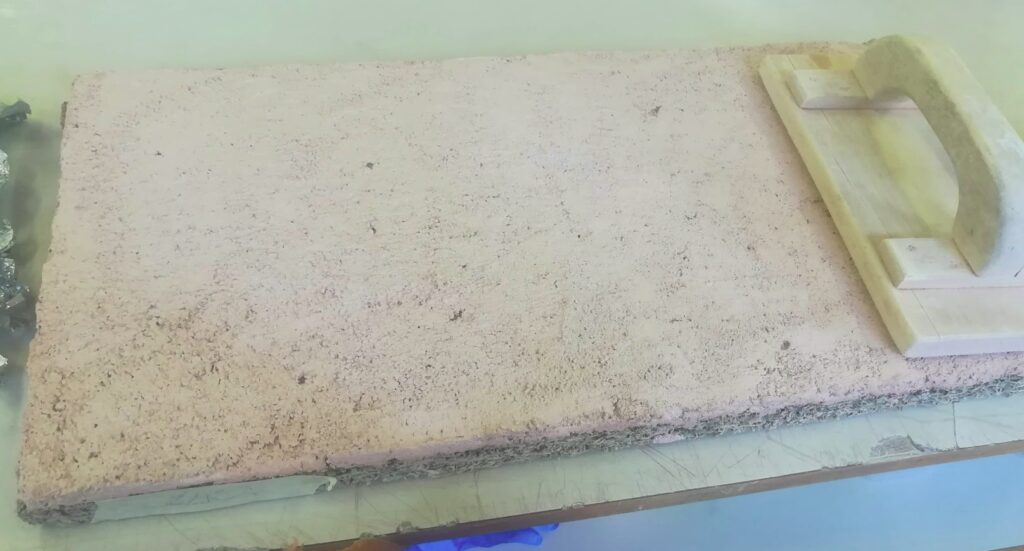
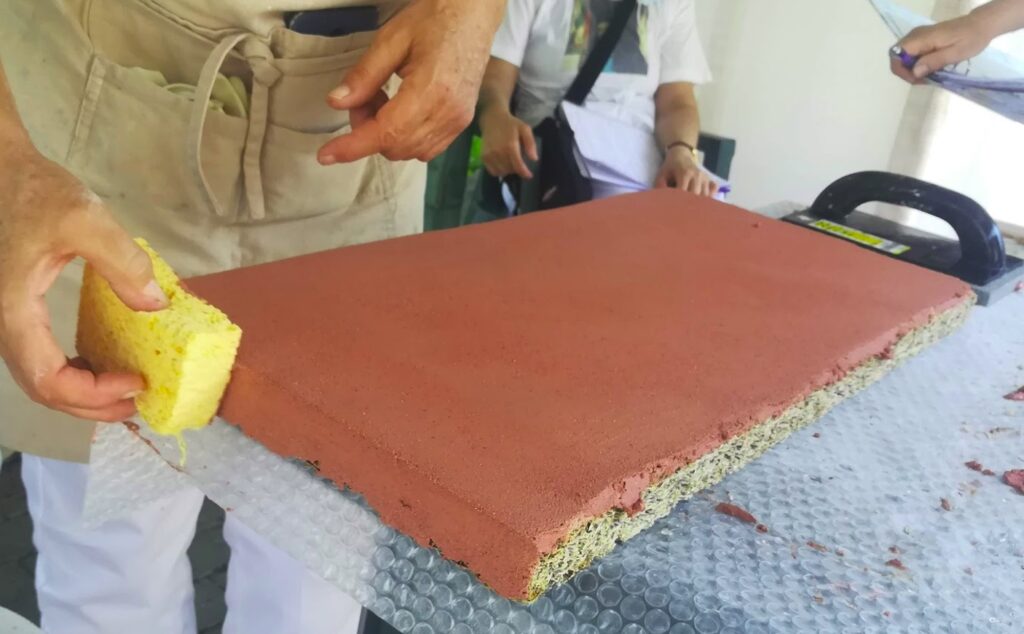
We brushed the arriccio with a brush to remove the dust, we wet it and we spread a layer of plaster of about 3 mm, of creamy consistency, always in 2 layers, one crushing and one softer, then smoothing it with the sponge trowel.
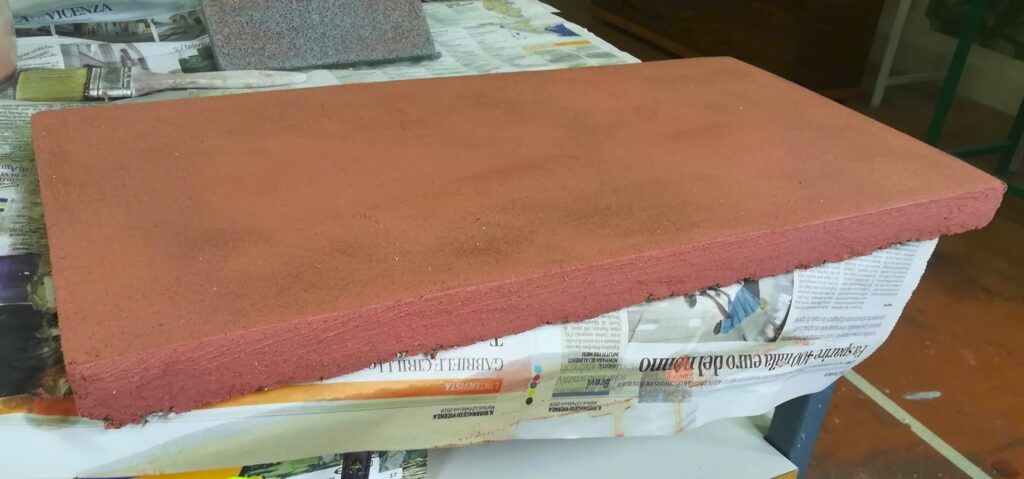
We also modeled the edges well, helping ourselves with a wet sponge, making the rounded cornersso they break less easily.
In my case, dark spots appeared on some areas of the plaster, because I pressed too hard with the trowel and worked it too much, causing what is called a “burn”.
I learned that you have to work the plaster just right, with skillful manual skill right from the start, without torturing it too much later.
The whitewash
The graffito technique can be done both fresco, that is, on fresh plaster when it has just begun to “pull”, and secco, that is, on dry plaster.
We chose to try both, trying the fresco technique on the underlying band with the arches, then proceeding immediately with the layer of whitewash.
Whitewash is a layer of slaked lime with the addition of pigment of the consistency of milk, which is spread and then removed with graphium in the affected areas.
We did several color tests to obtain a light and warm shade of whitewash, mixing a touch of ivory black and a touch of yellow ochre with the whitewash.

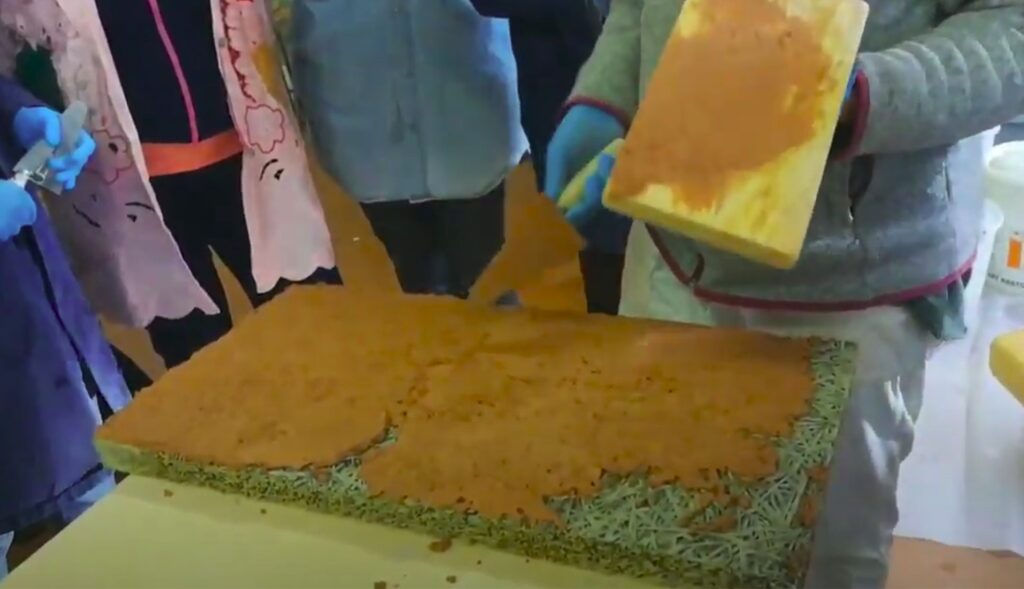
We marked the size of the band on the still wet plaster with a metal tip and then spread the scialbo with a brush.

The application should be done with a wide brush, with a delicate hand, depositing the scialbo, proceeding in areas, without pulling it too much, trying to obtain a uniform layer.

Don’t be fooled by the whitewash: when it’s first applied it seems transparent and you tend to go over it several times. In reality, when it dries, it becomes a covering white.
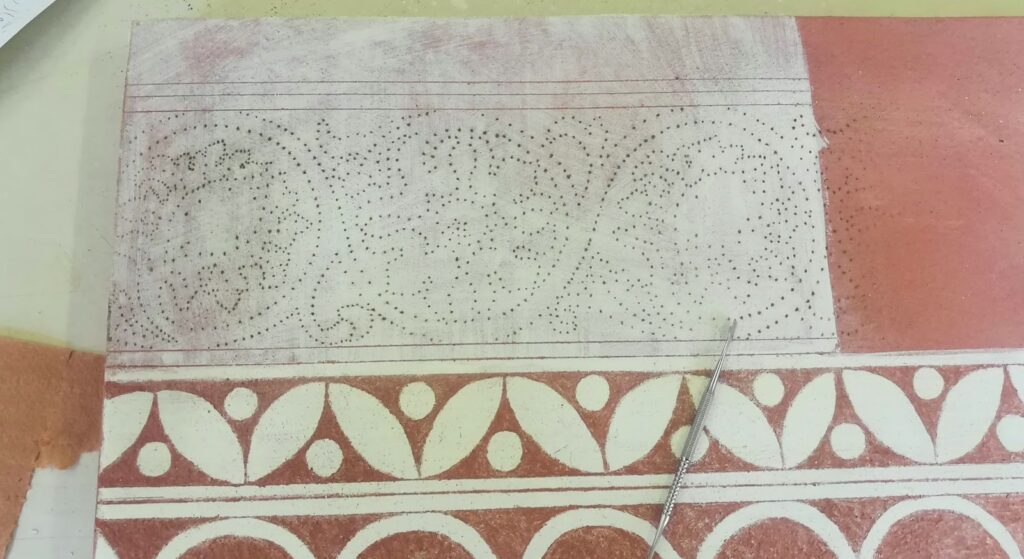
The dusting
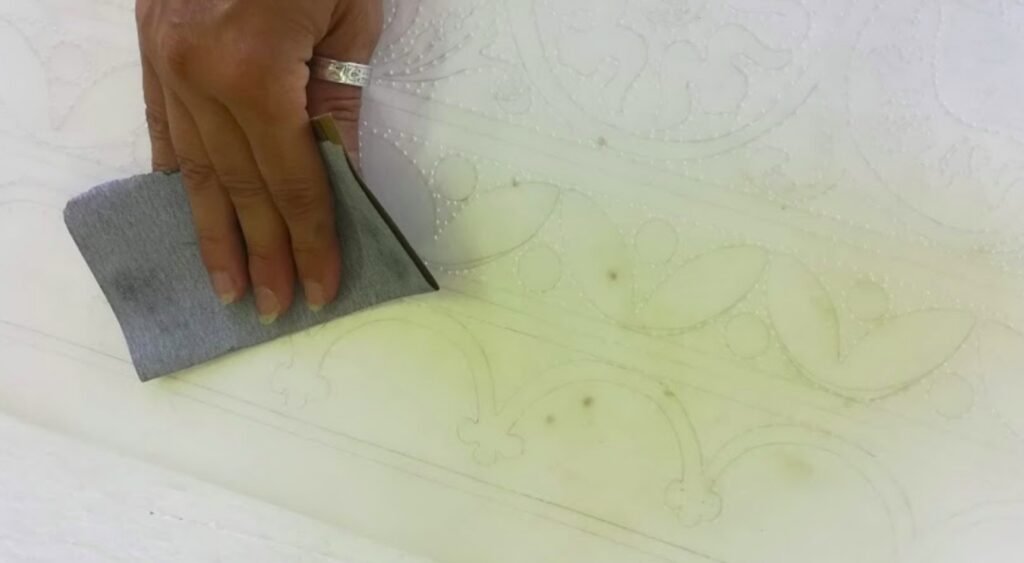
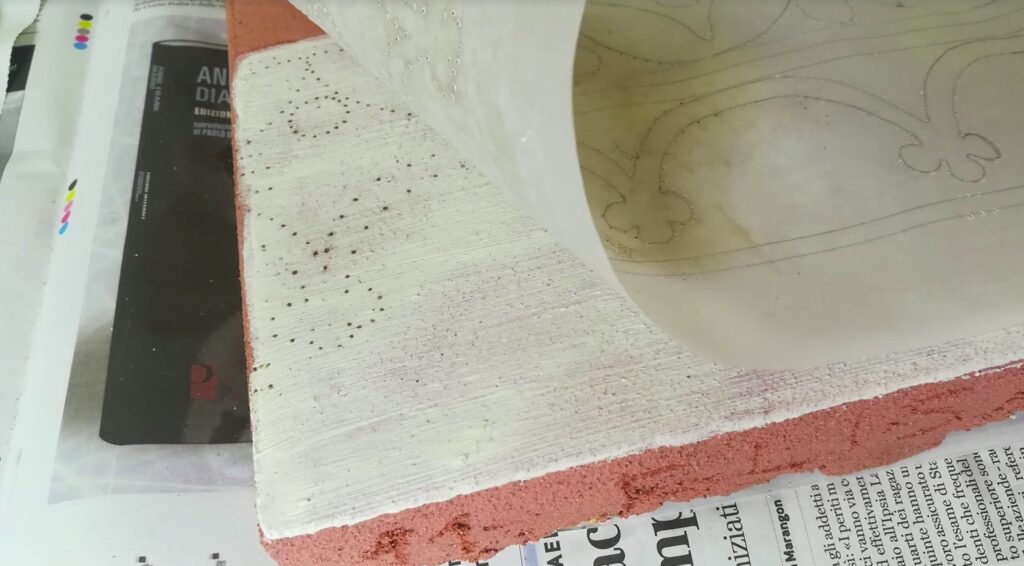
At this point, we have made the dusting, placing the perforated tracing paper on the support.
We have previously sanded the part of the tracing that was to be placed on the whitewash with sandpaper, so as not to ruin it or scratch it.
Dust must be done carefully, so as not to dirty the light whitewash with dust: since the whitewash is still fresh, if it remains dirty, the dust will not be removed. However, you need to check that the drawing is visible by lifting one side of the transparency.
The transparency must be aligned well with the support by creating references on the side to be able to reposition it perfectly in the same way if necessary.
Creation of the actual graffito
At this point, we begin to scratch away the chalk at the desired design using the graphium, a metal-tipped tool of various sizes.
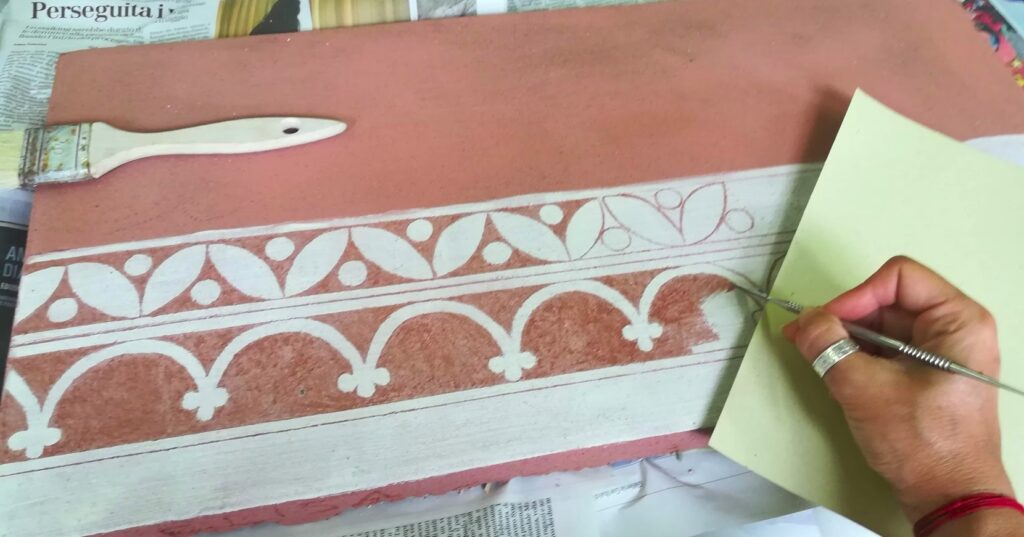
We first made the horizontal lines, holding a stick on the support and passing the graphium helping ourselves with this, and then we made the arches.
The technique is not as simple as it might seem: if you scratch too much, you will form some holes in the underlying plaster, if you scratch too little, traces of whitewash remain that are too obvious and the whole design seems whitish.
You need to find the right angle and pressure with the graphium and scratch evenly.
In my case I noticed that the whitish streaks left with the whitewash are too visible, I would have liked to see more contrast between the light part and the color of the plaster.
I probably proceeded too quickly, especially in the final part, also for fear of creating holes that were too deep. I noticed that if there are aggregates of too high a grain size in the plaster, with graphium you risk removing them, causing deeper holes.
In the upper part of the band, made after a few weeks with the dry technique, that is, on plaster that was already drier, I had less difficulty and there is more contrast between the white of the whitewash and the red of the plaster.
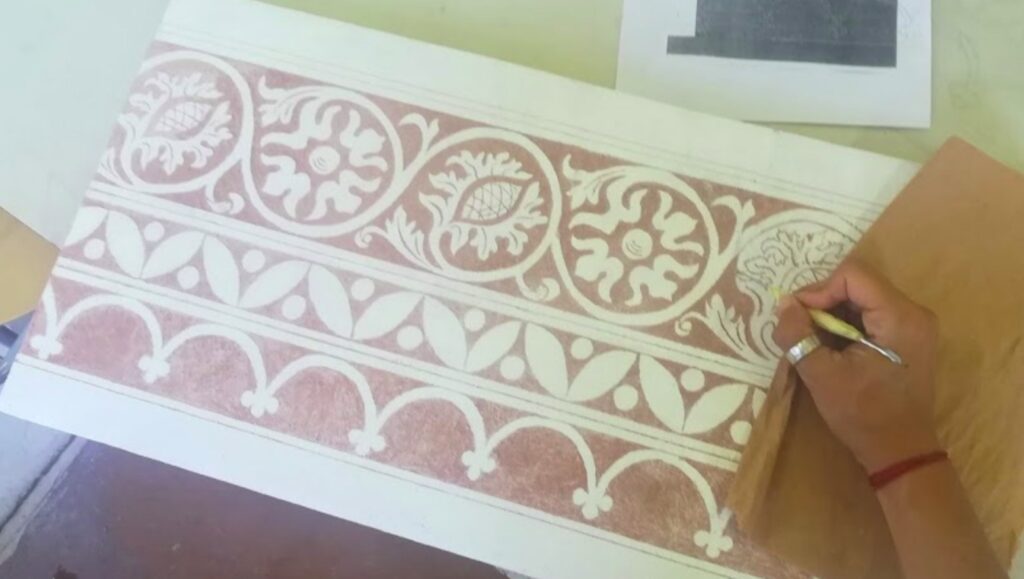
For this part, being more complex and therefore slow to make, we first applied the whitewash on one half of the board, we made the dusting and we carried out the whitewashing. Then we made the second part by spreading the whitewash again on the other half.
This way I better understood how to apply a light coat of whitewash and how to slightly overlap the two layers so that the joint is visible as little as possible.
Even in the upper band we proceeded calmly with the graphium, and since it is a part richer in details and less flat surfaces, I found it easier to create a homogeneity in the surface left with the plaster.

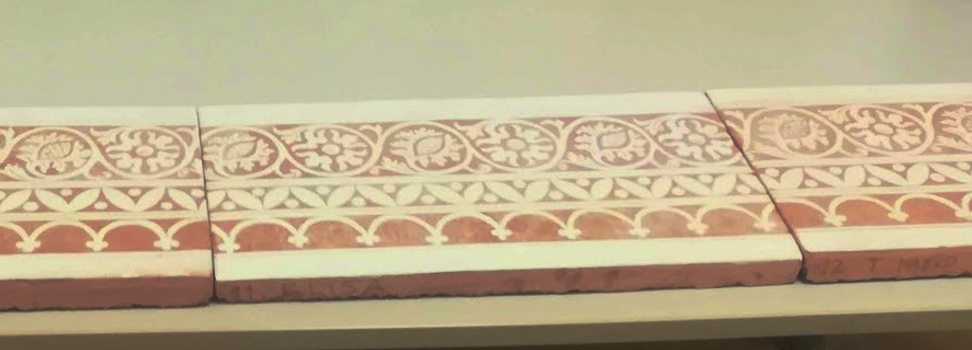
The beautiful thing after the patient work and the pain in my hand was to see all the tables made by the class lined up next to each other, forming a continuous band that I imagined on a real wall of a building.